

Imagine a world where your smart devices communicate seamlessly, creating a symphony of convenience and control in your home. That's the promise of integrating openHAB with MQTT, two powerhouses in the realm of smart home automation. For those ready to take their smart homes to the next level, mastering the openHAB to MQTT bridge is not just an option; it's a game-changer. This article will guide you through the nuances of connecting your devices like a pro.
The Heartbeat of Smart Home: Understanding MQTT
Before diving into the technicalities, let's shed light on MQTT (Message Queuing Telemetry Transport). This lightweight messaging protocol is designed for minimal bandwidth and device resource requirements, making it ideal for smart home applications where efficiency is key. Its publish/subscribe model provides a flexible method for devices to exchange messages, which is why it's become a cornerstone in IoT communication.
openHAB: The Brain Behind Your Smart Home
openHAB (Open Home Automation Bus) is an open-source platform that aims to provide a universal integration platform for all things smart home. With its robust framework and compatibility with a plethora of devices, openHAB stands as the central nervous system that interprets and manages commands across various ecosystems. The true power of openHAB lies in its ability to bring together disparate systems under one roof.
Smart Home Perks
- Unified Control - Manage various smart devices seamlessly under one platform.

- Protocol Agnosticism - openHAB supports numerous protocols like MQTT, Z-Wave, and Zigbee.
- Customization - Tailor automation rules and UI to fit personal needs and preferences.
- Scalability - Easily add new devices and functionalities as your smart home grows.
- Community Support - Access a large community for help, custom bindings, and shared knowledge.
- Security - Keep your smart home secure with openHAB's robust security features.

- Remote Access - Control your smart home devices from anywhere with Internet access.

- Compatibility - Work with a wide range of devices due to openHAB's extensive compatibility.
- Voice Control Integration - Integrate with voice assistants like Amazon Alexa or Google Assistant.
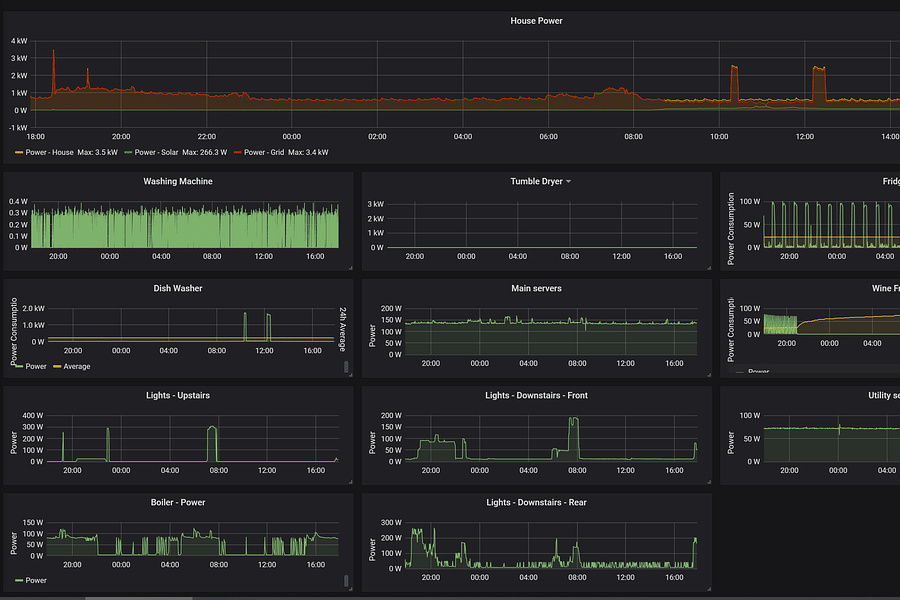
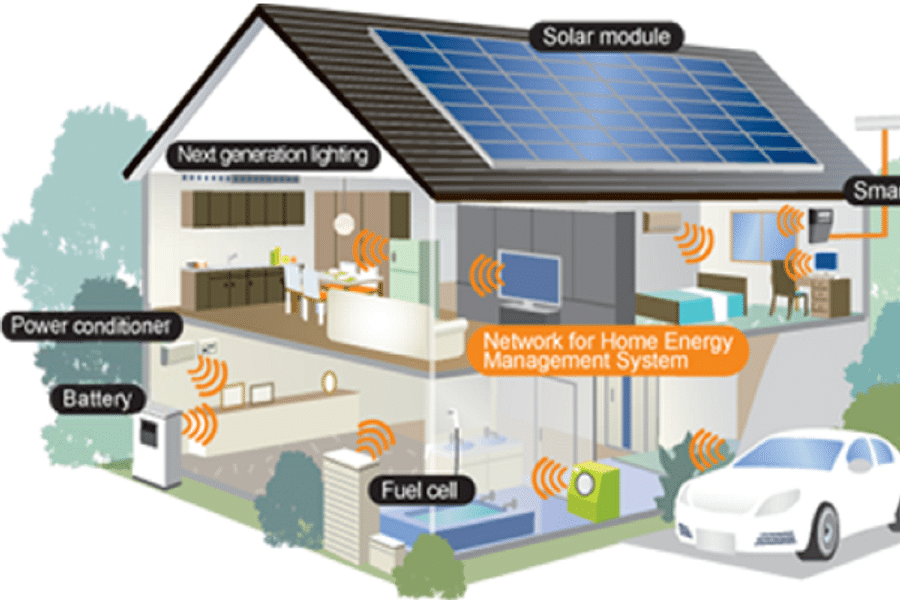
- Energy Efficiency - Optimize energy usage with intelligent automation and monitoring.
To fully harness the potential of openHAB in orchestrating your smart home devices, integrating with MQTT is essential. This integration allows openHAB to communicate with even more devices, especially those that natively support MQTT or are part of ecosystems that do not have direct integration with openHAB.
Navigating the Bridge: Connecting openHAB to MQTT
The bridge we're referring to isn't a physical one but rather a software-based link that connects the openHAB platform with an MQTT broker. An MQTT broker is essentially a server that facilitates message transfer between different clients (in this case, your smart devices). The setup might sound daunting at first, but fear not—once you understand the components involved and their interplay, you'll be connecting devices with confidence.
[step_by_step_guide: Step-by-step guide on setting up an openHAB to MQTT bridge]To start this journey, you'll need an MQTT broker installed either locally on your network or hosted remotely. Popular choices include Mosquitto or HiveMQ. Next comes configuring openHAB by installing the MQTT binding through its user interface—this acts as the translator between openHAB's language and that spoken by MQTT-enabled devices.
If you're new to this world or need a refresher on setting up your base station, check out our comprehensive guide to setting up openHAB. And should you encounter any hiccups along the way, our troubleshooting guide can help smooth out those bumps.
"The beauty of technology lies not just in its individual components but how they come together to create something greater than their sum."
This philosophy rings true when integrating openHAB with MQTT—separately powerful but together transformative for your smart home experience.
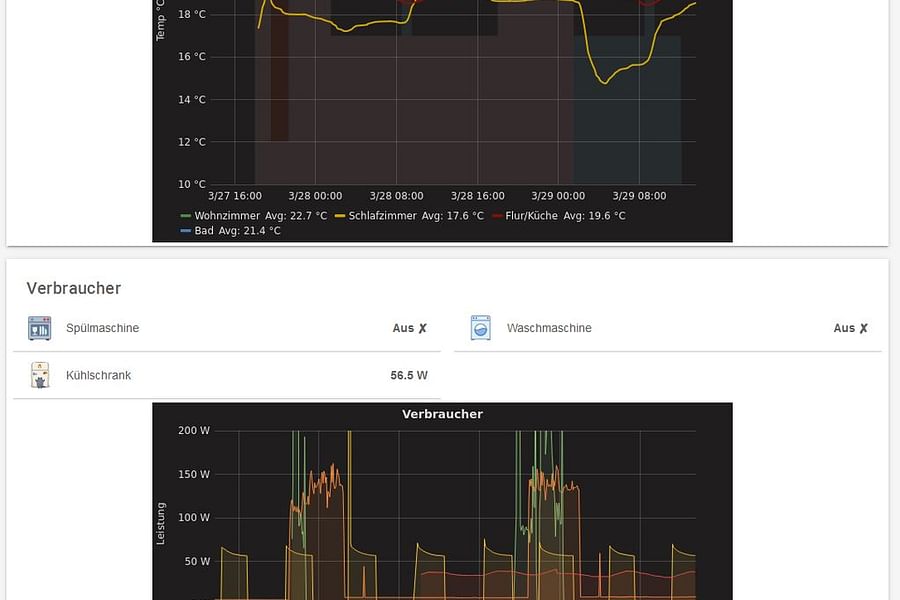
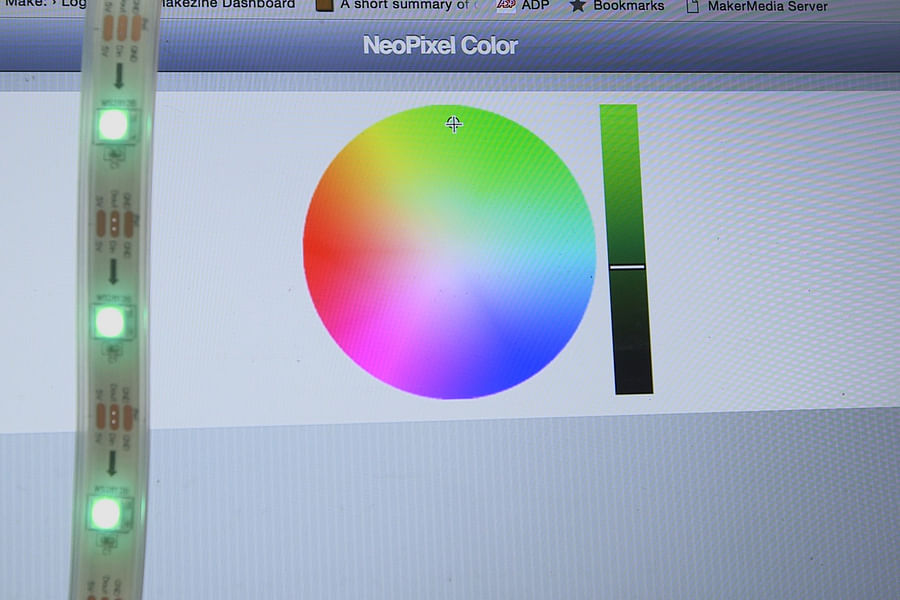
In our next section, we'll delve into practical scenarios where this integration shines—from managing energy consumption through smart thermostats connected via MQTT to orchestrating complex lighting scenes triggered by sensors communicating over this protocol.
If you're eager for more insights into compatible devices and DIY projects involving openHAB and external integrations like Google Assistant or Alexa, explore our guides on mastering Google Assistant and openHAB integration, setting up a smart light system with openHAB, or creating sophisticated automation rules with Alexa in our step-by-step guide.
We will also look at how leveraging these connections can lead to smarter energy usage, enhanced security protocols, and even personal comfort optimizations—all achievable through this dynamic duo of home automation technologies.
Integrating MQTT with openHAB is akin to teaching two different languages to converse fluently. It's about creating a seamless bridge that allows your devices to communicate effortlessly. The first step in this process is to ensure that you have the MQTT binding installed on your openHAB server. If you're unsure about how to do this, refer to our comprehensive guide on setting up openHAB. Once the binding is in place, you'll need to configure your MQTT broker details within openHAB's configuration files.
After setting up the MQTT binding, it's time for the real magic: creating items and sitemaps that will interact with your MQTT topics. Each device or sensor communicating over MQTT will have its own unique topic. In openHAB, you'll create an item for each of these topics, which allows you to control and monitor them from your openHAB interface.
Advanced Configuration: Rules and Scripts
The true power of smart home automation comes from its ability to not just control devices but also react intelligently to different scenarios. This is where openHAB rules come into play. By writing custom scripts or using graphical rule engines, you can define complex behaviors that trigger actions within your smart home ecosystem.
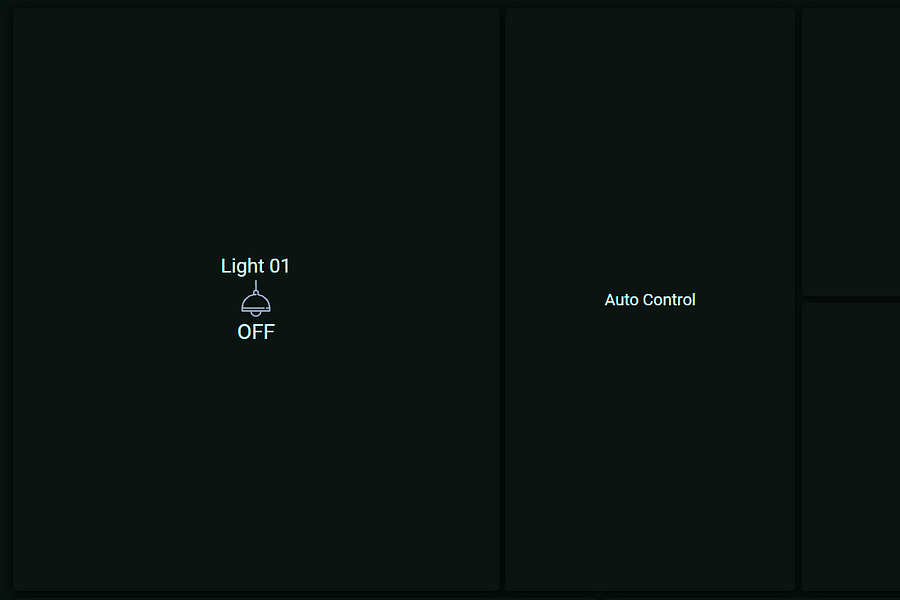
Automating Lights with openHAB and MQTT
To automate your home lighting based on motion detection, you can use openHAB's rules system. Below is a simple rule script that triggers when a motion sensor sends a message through MQTT, indicating motion has been detected. The script then sends a command to turn on the specified light.
rule "Turn on lights when motion detected"
when
    Item MotionSensor changed to ON
then
    sendCommand(LightItem, ON)
end
This rule should be placed in the openHAB rules file, typically located in the `/etc/openhab2/rules` directory on your openHAB server. Make sure to replace `MotionSensor` with the name of your actual MQTT motion sensor item, and `LightItem` with the name of the light item you wish to control.
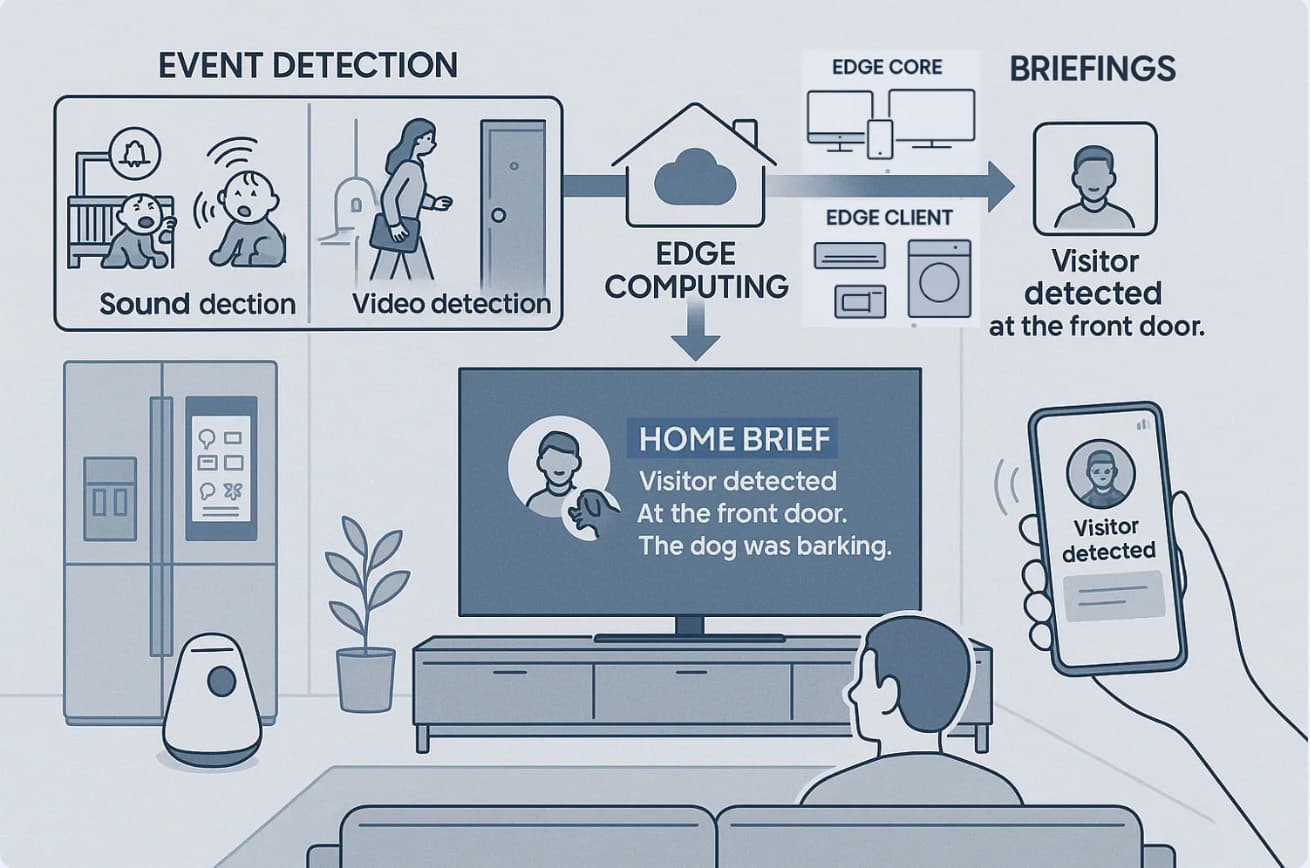
For instance, imagine a scenario where a motion sensor detects movement in your home after sunset. A well-crafted rule could automatically turn on the lights and send a notification to your phone. The possibilities are endless, and with our guide on setting up automation rules with Alexa and openHAB, even beginners can start crafting their own automated responses.
Troubleshooting Common Issues
No system is without its quirks and occasional hiccups, and the same goes for an MQTT bridge within openHAB. You might encounter issues where devices fail to communicate or updates don't reflect in real-time. In such cases, troubleshooting becomes essential. Our geek's guide to problem-solving with openHAB offers valuable insights into resolving common issues that may arise during your smart home adventures.
Remember that keeping all software updated is crucial for maintaining compatibility and security within your smart home network. Regularly check for updates on both the MQTT broker and the openHAB system itself.
To wrap things up, mastering the integration of MQTT into your openHAB setup can significantly enhance your smart home experience. It opens up a world where virtually any device can be part of your automated domain – all it takes is some initial effort in understanding how these systems work together.
Embrace the challenge; every step forward in configuring your smart home system brings you closer to a fully responsive environment tailored just for you.
In summary, whether you're looking to add new devices or optimize existing ones, understanding how to bridge MQTT with openHAB is invaluable. With resources like our in-depth guide to mastering home automation, along with an active community ready to help, there's no limit to what you can achieve in creating a truly intelligent smart home ecosystem.
- Install and configure the MQTT Binding in openHAB.
- Create items in openHAB corresponding to each MQTT topic.
- Use rules and scripts for advanced device interactions.
- Troubleshoot any issues with detailed guides and FAQs.
- Keep systems updated for optimal performance and security.
The journey towards mastering these technologies will not only provide convenience but also offer a rewarding experience as you witness your home come alive with intelligence and automation at every corner!


No comments yet. Be the first to share your thoughts!