
Smart home builds for under $100
Smart home tech is expensive if you buy off-the-shelf kits. You can skip the markup by building your own. With $100 and a free weekend, you can automate your lighting, protect your floors from leaks, and manage your plants using basic microcontrollers.
This isn’t about replacing everything at once. It’s about choosing a few focused DIY projects that deliver real value – increased convenience, a little more security, or even some energy savings. We'll focus on projects that are achievable for someone with a basic understanding of electronics and coding, but aren’t necessarily reliant on professional installation.
We're leaning heavily into open-source hardware and software wherever possible. This helps avoid ongoing subscription costs that can quickly add up with some commercial smart home systems. Expect to get your hands a little dirty, and to do some troubleshooting along the way. These projects are a learning experience as much as they are home improvements.

Automated lighting schedules
One of the simplest and most effective smart home projects is automating your lighting. This can create the illusion of occupancy when you’re away, deterring potential intruders, and it’s incredibly convenient to have lights turn on and off automatically. We'll use a microcontroller like the ESP32 or a Raspberry Pi Pico W to control existing lamps.
The core of this project is a relay module. The microcontroller doesn’t directly handle the mains voltage; the relay acts as a switch. Working with mains power is dangerous. If you haven't wired a circuit before, find a friend who has or stick to low-voltage DC projects. You'll connect the relay to the microcontroller and wire it in series with the lamp's power cord, ensuring the relay is rated for your local voltage.
Software setup involves programming the microcontroller, often using MicroPython. You'll need to configure the microcontroller to activate the relay at specific times, or to respond to sunrise/sunset times obtained from an online time service. There are plenty of online tutorials for ESP32 and Raspberry Pi Pico W that can guide you through the process. The total cost for this project is around $28: ESP32 (~$8), relay module (~$5), power supply (~$5), and an enclosure (~$10).
- Gather an ESP32, relay module, power supply, and an old lamp.
- Wire the relay module to the ESP32, following a wiring diagram.
- Connect the relay in series with the lamp's power cord.
- Write MicroPython code to control the relay based on a schedule or time.
- Enclose the electronics in a safe enclosure.
DIY leak detector
Water damage can be incredibly costly, so a leak detector is a smart addition to any home. You can build a surprisingly effective one for under $20. This project uses a moisture sensor to detect the presence of water and then sends an alert to your phone.
The setup is similar to the automated lighting project. You connect a moisture sensor to the ESP32. When the sensor detects moisture, the ESP32 sends an alert. You can use a service like IFTTT (If This Then That) to send an email or a push notification to your smartphone. Placement is key – focus on areas prone to leaks like near washing machines, dishwashers, and water heaters.
This isn’t a foolproof system. It won’t prevent a major burst pipe, but it will provide an early warning sign of a slow leak, giving you time to react. The cost breakdown is roughly: ESP32 (~$8), moisture sensor (~$3), wires/jumper cables (~$2), and an enclosure (~$5), totaling $18. Remember to regularly test the sensor to ensure it’s functioning correctly.
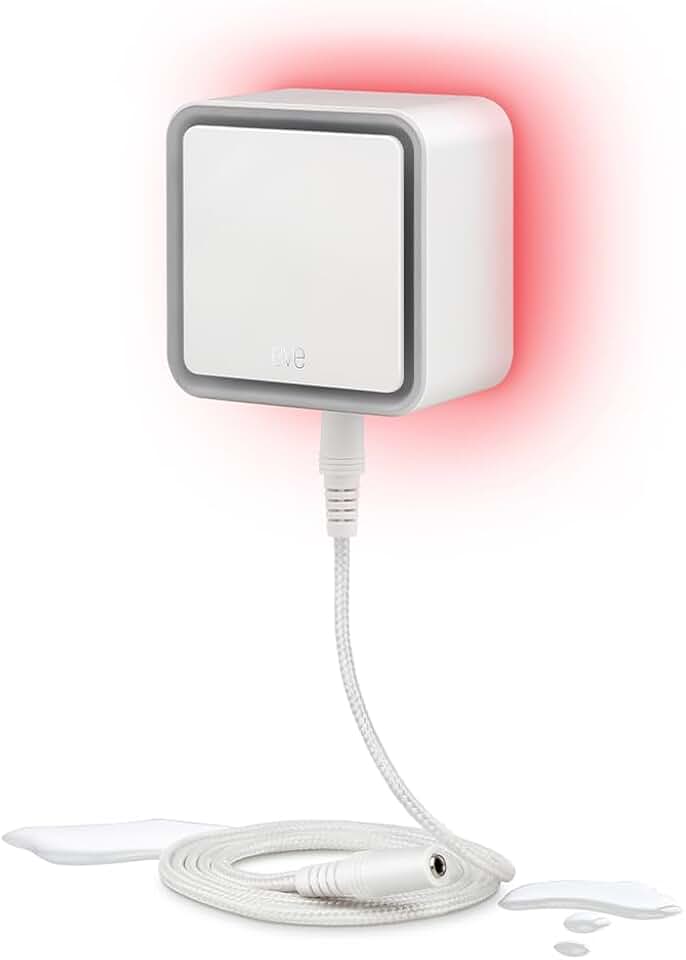
Affordable Moisture Sensors for Your DIY Smart Home Projects

Zigbee wireless connectivity · Requires Aqara Hub for smart home automation · App notifications for real-time alerts
These budget-friendly moisture sensors are perfect for DIY smart home enthusiasts looking to add leak detection to their projects without breaking the bank.

LoRa technology with up to 1/4 mile open-air range · SMS/Text, Email, and Push notifications · Works with Alexa, IFTTT, and Home Assistant
These budget-friendly moisture sensors are perfect for DIY smart home enthusiasts looking to add leak detection to their projects without breaking the bank.

WiFi connectivity with 1804 ft ultra-long range · SMS/Email/App push notifications and sound alarm · 5-year battery life
These budget-friendly moisture sensors are perfect for DIY smart home enthusiasts looking to add leak detection to their projects without breaking the bank.
6.5 ft sensing cable for flexible placement · 100 dB siren for audible alerts · Apple HomeKit compatible
These budget-friendly moisture sensors are perfect for DIY smart home enthusiasts looking to add leak detection to their projects without breaking the bank.
As an Amazon Associate I earn from qualifying purchases. Prices may vary.
Smart plant monitor
For the plant lovers out there, a smart plant monitor can help you keep your green friends thriving. This project is very similar to the leak detector, but instead of detecting water leaks, it monitors soil moisture and temperature. Using an ESP32 and appropriate sensors, you can remotely check on your plants' health.
The data from the sensors helps you understand if your plant is getting enough water and if the temperature is within its optimal range. You could even extend this project to automatically water your plants using a small pump, though that might push the cost slightly over our $100 limit. The benefit is knowing your plants are well cared for even when you're away.
The cost for the basic monitor is around $28: ESP32 (~$8), soil moisture sensor (~$5), temperature sensor (~$3), wires (~$2), and an enclosure (~$10). Interpreting the sensor data requires a little research to understand the specific needs of your plants. Different plants prefer different moisture levels and temperatures.
Voice-controlled outlet
Want to control a lamp or appliance with your voice? You can repurpose an old smartphone (or use a Raspberry Pi Zero W) as a voice assistant. This project is more software-focused than the others, relying on automation apps to bridge the gap between your voice commands and a smart plug.
On an Android phone, you can use an app like Tasker to create rules that trigger actions based on voice commands. For example, you could say “Turn on the lamp” and Tasker would send a command to a smart plug to turn it on. Similar functionality can be achieved with a Raspberry Pi Zero W and some custom scripting. A good smart plug is essential for this to work.
Using an old phone as a microphone means leaving a Google or Apple account active in your living room. I recommend wiping the device and using a fresh, burner account to keep your main data separate. It costs about $20 for the smart plug if you already have the phone. It’s clunkier than an Echo Dot, but it doesn't require a subscription.
Automated curtain control
Automating your curtains can add a touch of luxury and convenience to your geek condo. This project uses a servo motor to open and close your curtains, controlled by an ESP32. It's a bit more mechanically challenging than some of the other projects.
You'll need to mount the servo motor near your curtains and connect it to the curtain cord using string or cord. The ESP32 controls the servo's position, allowing you to program it to open and close the curtains at specific times or on demand. Mounting options will vary depending on your curtain type and window setup.
The cost is around $35: ESP32 (~$8), servo motor (~$10), string/cord (~$2), mounting hardware (~$5), and an enclosure (~$10). Different curtain types present different challenges. Heavier curtains will require a more powerful servo, which will increase the cost. Consider the weight and material of your curtains when selecting a servo motor.
Which of these DIY smart home projects are you most likely to try this weekend?
We covered five budget-friendly builds you can complete for under $100 each. Tell us which ones caught your eye — select all that apply and let us know what your next Geek Condo upgrade will be.


No comments yet. Be the first to share your thoughts!