
Moving past basic alarms
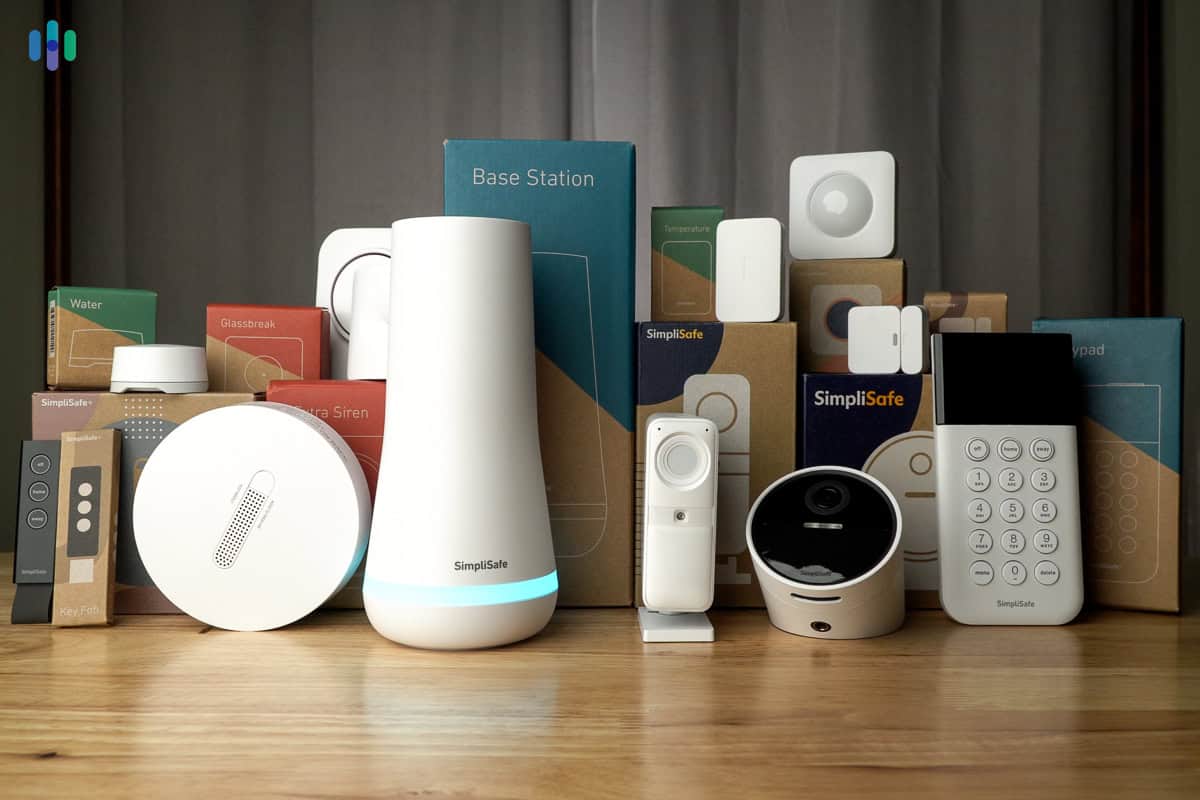
Home security used to mean paying ADT or SimpliSafe every month. Those systems are fine, but they're rigid. By 2026, paying for a locked-down box feels outdated. Hardware is cheap now, and AI tools let you build a system that actually fits your house.
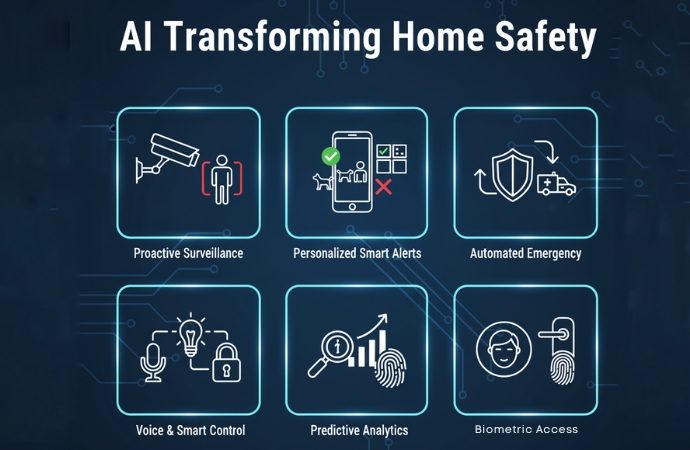
We’re moving beyond simple motion detection and loud sirens. A DIY, AI-powered approach lets you differentiate between a delivery driver and a potential intruder, or even recognize your pets to avoid false alarms. This isn’t about replacing a Ring doorbell; it’s about creating a proactive security net that learns your routines and adapts to your environment.
Building your own setup isn't easier, but you get total control over your privacy. You have to be willing to tinker. I've found that the effort pays off when the system evolves with your needs rather than staying static.
The hardware you actually need
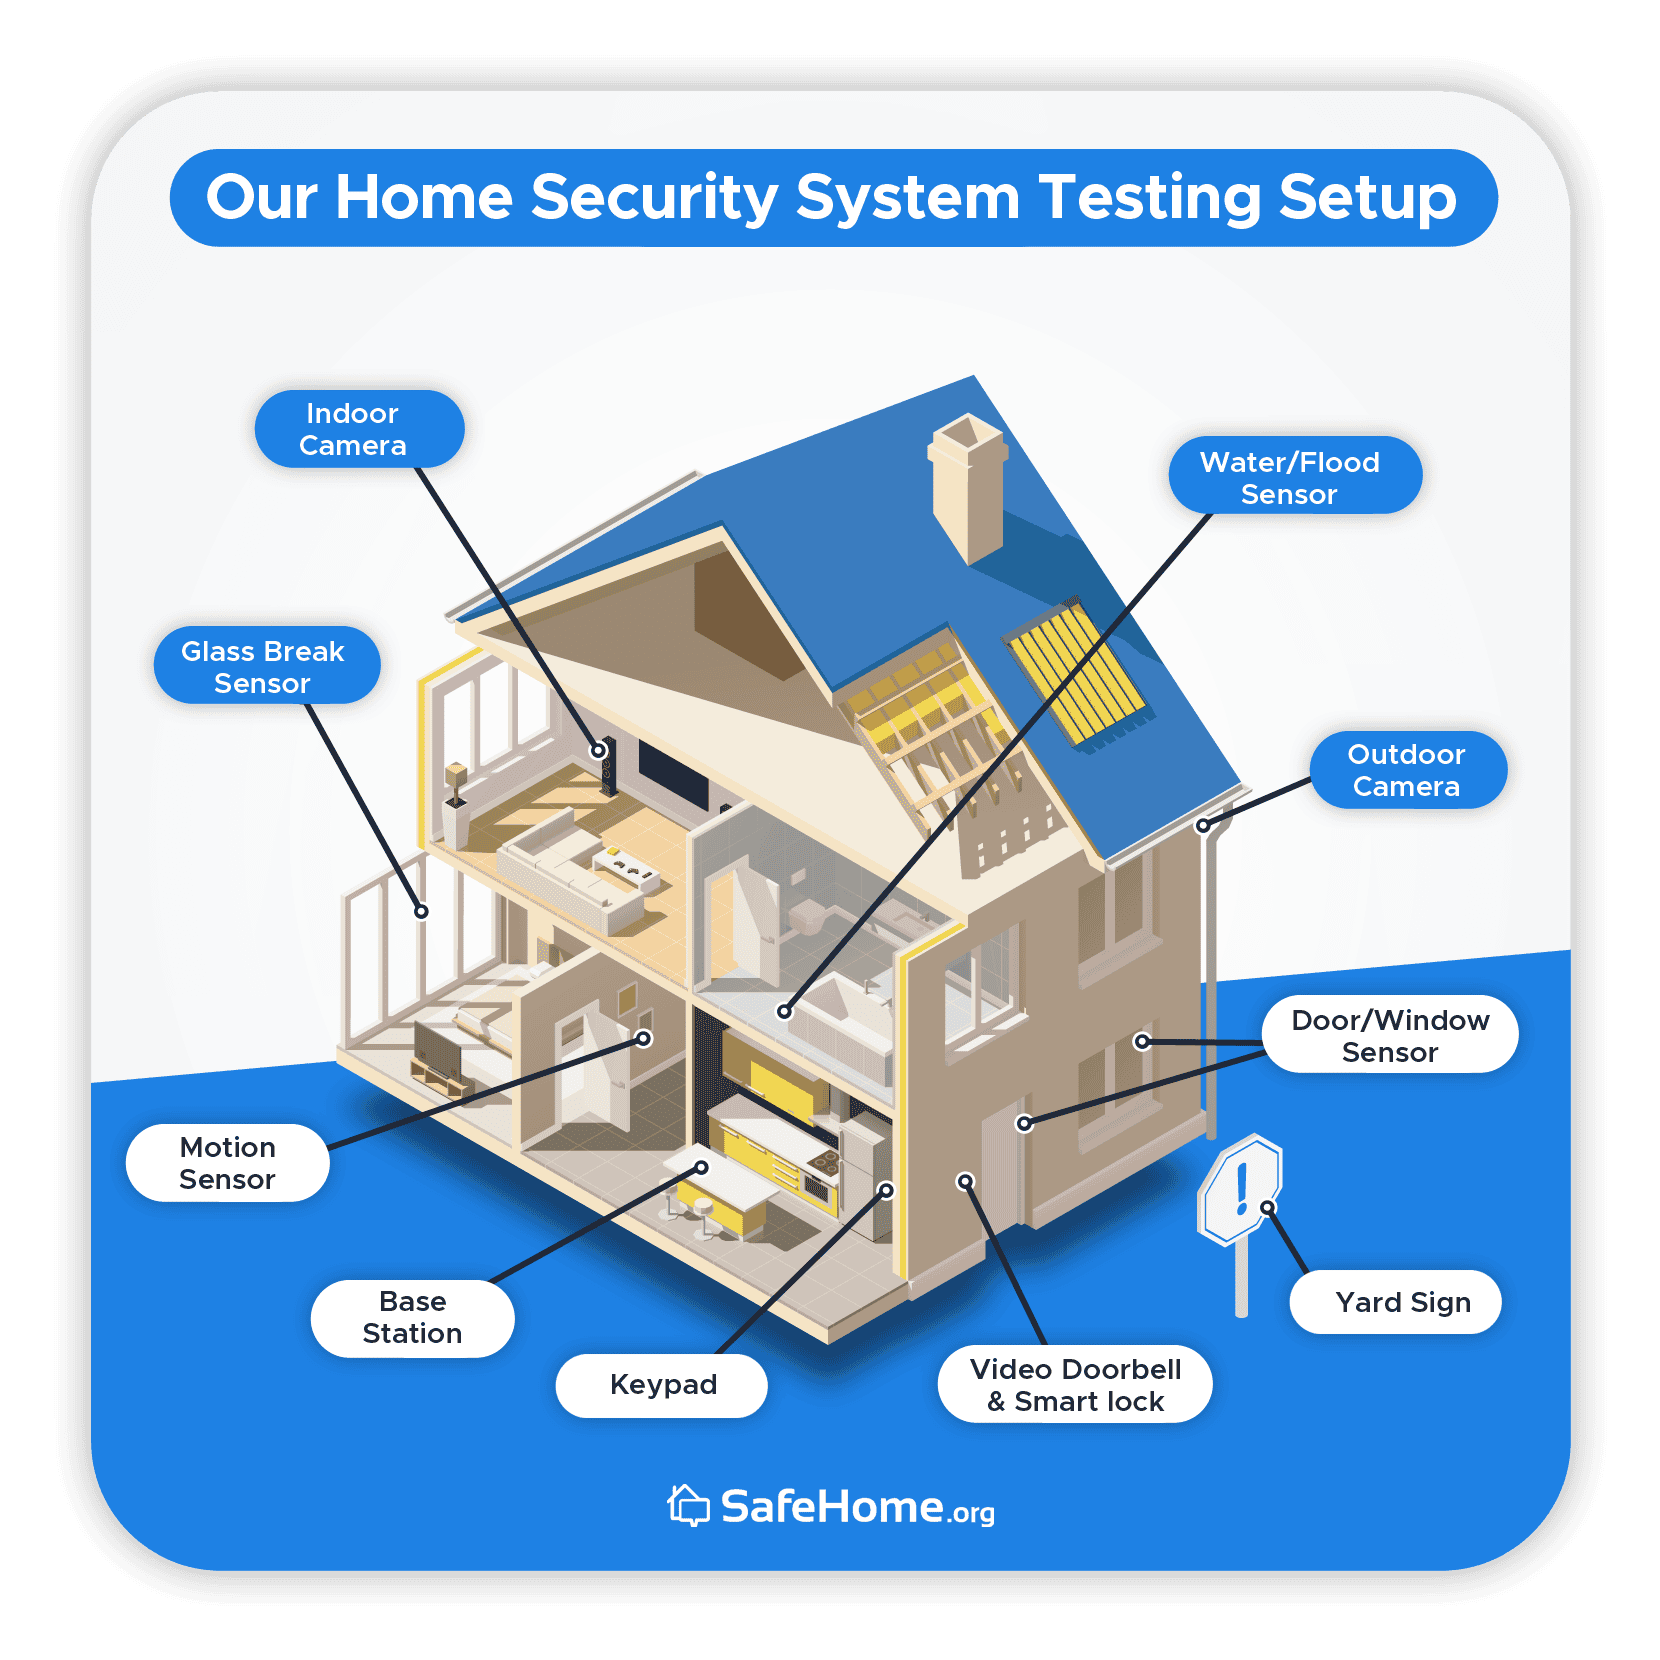
Let's start with the hardware. You'll need cameras—wired or wireless—with resolution being a key consideration; 1080p is a good starting point, but 2K or 4K offer more detail. Wireless cameras are easier to install, but require reliable Wi-Fi and battery management or a nearby power outlet. Wired cameras offer a more stable connection but demand more initial effort.
Motion sensors are the backbone here. PIR sensors detect heat, while microwave sensors track movement; using both helps stop false alarms. Door and window sensors are cheap and easy to stick on frames. I also recommend a UPS (Uninterruptible Power Supply) so a power cut doesn't kill your entire security net.
The central hub is the brain of your system. Choices range from a Raspberry Pi, offering maximum flexibility but requiring significant technical expertise, to purpose-built hubs like Home Assistant Blue or the Homey system highlighted in a recent YouTube tutorial from Automate Your Life (uploaded March 16, 2025). The "best’ option depends on your comfort level and the complexity you"re aiming for. Be realistic though, a more DIY approach often means more time spent configuring and troubleshooting.
Open source vs. off-the-shelf hubs
Choosing a hub is a significant decision. Raspberry Pi with Home Assistant is incredibly powerful and customizable. It’s free to use, but requires Linux proficiency and a willingness to delve into configuration files. The learning curve is steep, and ongoing maintenance is expected – updates, troubleshooting, and potentially debugging.
Homey, as demonstrated in the Automate Your Life video, offers a more user-friendly experience. It’s a commercial product, so it comes with a cost, but it simplifies the integration of various devices and offers a smoother setup process. Other options include Hubitat Elevation, which balances customization with ease of use.
Here's a quick comparison:
| Hub | Cost | Complexity | Customization | Maintenance |
|--------------------|-------------|------------|---------------|-------------|
| Raspberry Pi/Home Assistant | $50 - $200 | High | Very High | High |
| Homey | $300 - $400 | Medium | Medium | Low |
| Hubitat Elevation | $150 - $200 | Medium | Medium | Medium |
DIY Smart Home Security Hub Comparison - 2026
| Hub Option | Ease of Setup | Customization & Flexibility | Privacy & Local Control | Community Support |
|---|---|---|---|---|
| Raspberry Pi / Home Assistant | Requires technical expertise | Extremely high, open-source | Primarily local, strong privacy focus | Very large and active |
| Homey | User-friendly interface | Good, supports many protocols | Balances local control with some cloud reliance | Growing, dedicated user base |
| SmartThings | Generally straightforward | Moderate, limited by platform | Significant cloud dependency, privacy concerns noted | Large, Samsung backed |
| Hubitat Elevation | Moderate, steeper learning curve than SmartThings | High, rule engine focused | Strong local control, good privacy | Active, but smaller than Home Assistant or SmartThings |
Qualitative comparison based on the article research brief. Confirm current product details in the official docs before making implementation choices.
Detection that knows the difference
Standard motion sensors are annoying because they trigger for every passing cat or swaying branch. If you use AI object detection—like TensorFlow Lite—you can tell the system to only alert you if it sees a person or a car. This cuts out the noise.
You can even train the system to recognize familiar faces, so it only alerts you to unknown individuals. This requires a camera with sufficient resolution and processing power, and a dataset of images to train the AI model. However, the benefits—a security system that truly understands its surroundings—are substantial.
It’s crucial to consider the privacy implications of facial recognition. Storing and processing facial data raises ethical concerns. You can mitigate these risks by processing images locally, avoiding cloud storage, and ensuring data is encrypted. Be mindful of local regulations regarding surveillance and data privacy. A local-only approach, while requiring more processing power on your hub, offers greater control over your data.
Software and setup
Home Assistant is a popular choice for managing a DIY security system. It’s open-source, highly customizable, and supports a vast range of devices. Setting it up involves installing the software on your chosen hub (like a Raspberry Pi) and configuring each device. The learning curve can be steep, but the online community is incredibly active and supportive.
Once your devices are connected, you can create automation rules. For example, you could set up a rule to turn on lights when motion is detected at night, or to send a push notification to your phone when a door sensor is triggered. Integrating different components requires understanding their respective APIs and protocols.
Secure remote access is essential. Avoid exposing your Home Assistant instance directly to the internet. Instead, set up a secure VPN (Virtual Private Network) to access your system remotely. This encrypts your internet traffic and protects your data from unauthorized access. WireGuard is a lightweight and secure VPN protocol that’s easy to set up.
- Install Home Assistant on a dedicated hub.
- Connect your cameras, sensors, and other devices.
- Configure automation rules.
- Set up a secure VPN for remote access.
Adding more features
Once you have a basic security system in place, you can expand its functionality in numerous ways. Integration with voice assistants like Alexa or Google Assistant allows you to arm and disarm your system using voice commands. However, be cautious about security vulnerabilities associated with voice assistants and ensure you’re using strong passwords and two-factor authentication.
Adding smart locks and lighting can create a more comprehensive security solution. Smart locks allow you to remotely lock and unlock your doors, while smart lighting can be used to simulate occupancy patterns, deterring potential burglars. Machine learning can be used to analyze sensor data and predict potential security threats, such as identifying unusual activity patterns.
Direct integration with local emergency services is complex and often requires professional monitoring. While DIY systems offer excellent control, they typically don’t have the same level of support as professionally monitored systems. Consider the trade-offs carefully before relying solely on a DIY system for critical security needs.
Keeping your data private
DIY security systems offer more control over your data, but they also place a greater responsibility on you to protect your privacy. Secure your Wi-Fi network with a strong password and enable WPA3 encryption. Regularly update the firmware on all your devices to patch security vulnerabilities.
Use strong, unique passwords for all your accounts and enable two-factor authentication whenever possible. Be wary of phishing scams and avoid clicking on suspicious links. Consider using a separate VLAN (Virtual LAN) for your security devices to isolate them from your main network.
Cloud dependency is a potential risk. If your system relies on cloud services, you’re vulnerable to outages and data breaches. Opt for local storage and processing whenever possible to minimize your reliance on the cloud. A3 Smart Home offers self-install kits focused on privacy and local control.
- Use WPA3 encryption on your Wi-Fi.
- Strong, unique passwords & 2FA
- Regular firmware updates
- Consider a separate VLAN for security devices


No comments yet. Be the first to share your thoughts!